
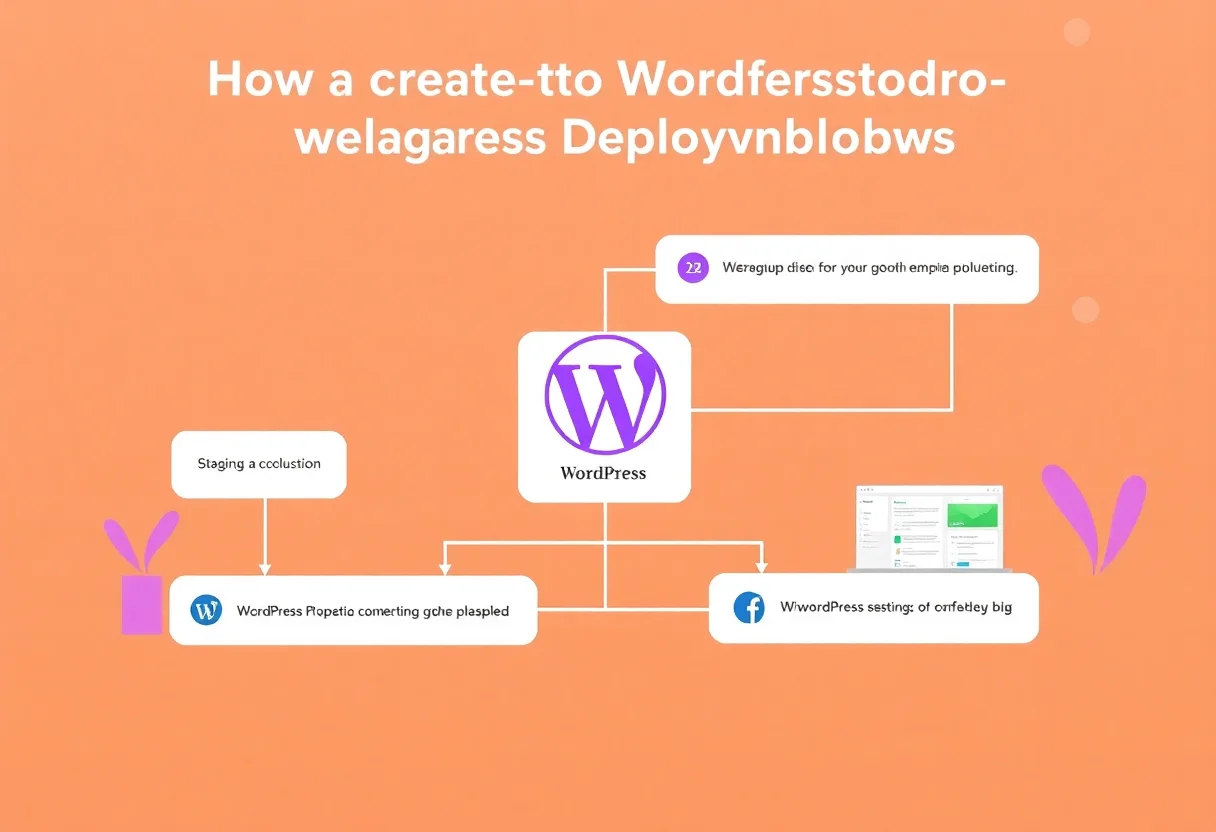
Every Change You Make to Your Live WordPress Site Is a Risk. Staging Eliminates That Risk Entirely.
A staging to live deployment workflow means every change — plugin updates, theme changes, new features, design adjustments — is made and tested on a staging copy of your site before being pushed to the live site your customers see. When something breaks, it breaks on staging, not in front of your visitors. Here is how to set up this workflow.
“Staging is not a luxury — it is a safety net. The cost of staging is zero with most hosts. The cost of breaking your live site is customers lost and revenue gone.”
The Staging Workflow
1. Create a staging site. Most managed WordPress hosts provide one-click staging — WP Engine, Kinsta, Cloudways, SiteGround. If yours does not, use the WP Staging plugin. 2. Make changes on staging. Update plugins. Test a new theme. Add custom code. Build new pages. Test everything thoroughly — every page, every form, every device. 3. Push to live. When changes are verified, use your host’s push tool or WP Staging’s push feature to deploy changes to the live site. 4. Verify live. Immediately check the live site after pushing changes. Test the areas that were changed. 5. Keep staging in sync. Regularly pull a fresh copy of your live site to staging so your testing environment matches reality. For professional deployment workflow setup, see our WordPress Services page.
“The staging workflow is the professional standard. Build, test, deploy, verify. Your customers never see a broken site because the broken version never reaches them.”